If anyone in my family is going to do a science project in my family and expect my help with it, it had better involve food. If it’s building stuff – they’d better call on Marissa who managed in one night to help Jasmine build a scale replica (no model kit) of the San Fernando Mission with some cardboard and crushed cookies. She’s talented.
Me, I cook or bake. It’s my therapy and something I love so science and chemistry related to food…that, I can do. When it came time for me to work on a science project – I picked baking.
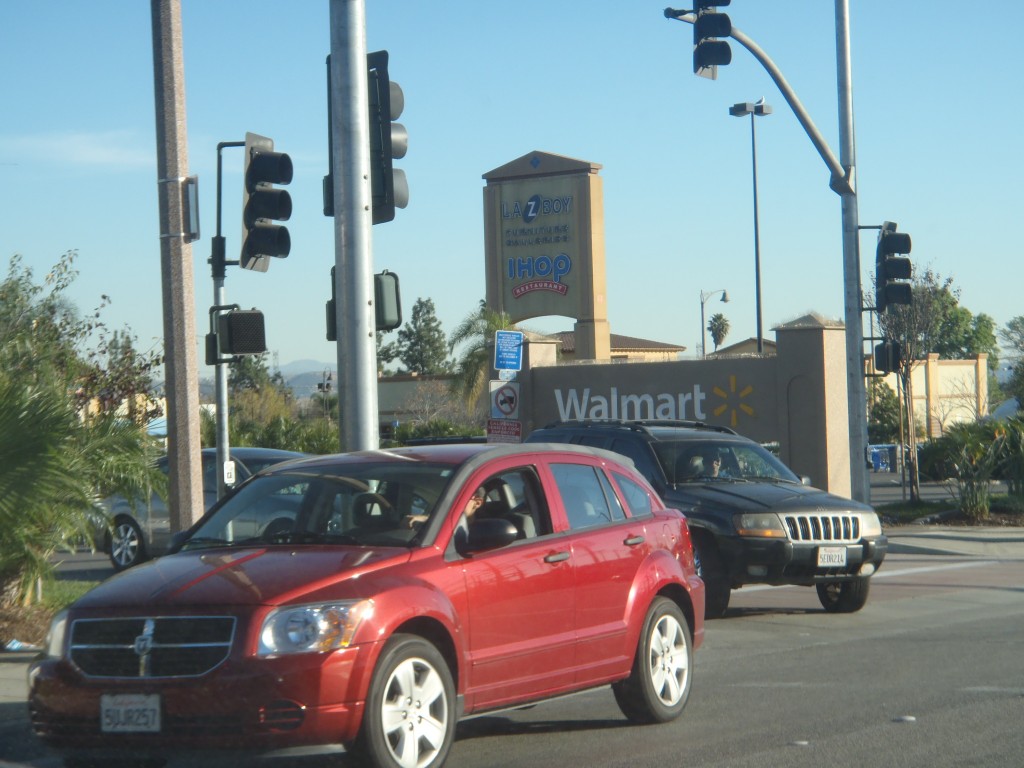
We started out planning. I discussed the important project with my two grandchildren, Jasmine and Aiden. We had most of the stuff required, so we didn’t need a list – just a beautiful Saturday in L.A. and a ride down to Walmart. From Eagle Rock, the closest Walmart is in Duarte (Store #2401), about twenty minutes away. The day was gorgeous and at first, the freeway was clear sailing but as soon as we hit the 210, traffic.
Neither Anabel (the kids other grandma) nor I had been to Walmart before so we were both overwhelmed by its size. I don’t know about others, but the store in Duarte is HUGE, seriously massive. I almost forgot why we came once I walked in. I didn’t know which way to turn and I could tell Anabel was feeling the same. Thank goodness for my sensible and pragmatic granddaughter who said, “Grammy, Elmers…” Um yeah.
We wandered and easily found the Elmer’s glue and supplies including the Elmer’s tri-fold board I needed for this project. I also picked up some clear glue and of course, glittery pens. I was a little disappointed not to find more Elmer’s project products there, but it was too late in the day and the stores too far spread apart to try and visit another. In any case, we’d easily found what we came for.
With the science project supplies in our cart, we had time to wander and wander we did. Anabel kept repeating, “wow, so cheap” whenever she found something she liked. I made my way over to the cooking stuff and drooled over pots, pans, cutlery and more for the better part of an hour. I fell in love with the Paula Deen line of cookware in robin’s egg blue. Whatever her current health/fan issues are, her line of cooking products is stunning. More and more things found their way into our collective shopping carts. Clothes for the kids found their way in there as well. Jasmine found some super cute little Hello Kitty pants with glitter on them and Aiden, his favorite carpenter jeans.
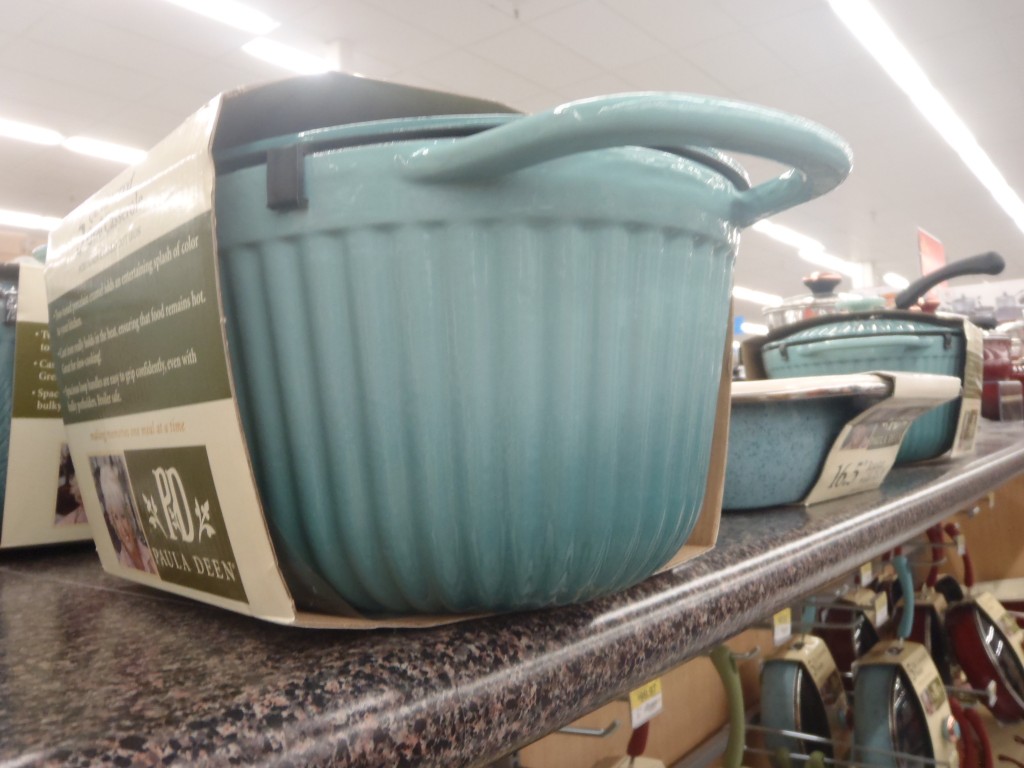
We left Walmart, tired, happy and with considerably more than what we had went in for. I ended up buying some ricotta and lasagna makings (check out upcoming post for my Lasagna Margherita) as well as sparkling water and a few other goodies. Anabel left with a cart full of stuff too and a plan to come back. My daughter-in-law’s response was “I should never let you two shop together” as she shook her head when we walked in with Anabel’s purchases. Good thing mine were still in the car and she didn’t see what I took home.
*Note: I would have taken photos of the full shopping carts but ran out of batteries halfway through the store. Next time I go to Walmart, I’m taking an extra battery!
Chemistry in Baking Science Project
Use the muffin recipe below as a starting point (Beard, 1972), or pick your favorite muffin recipe and make a “half batch” of 6-8 muffins. Note: The recipe shown below will make 6-8 muffins. You can “halve” your own recipe by dividing the required amount of each ingredient by two. Be sure and note the ingredient amounts you use!
1/2 cup all-purpose flour
1/2 cup cornmeal
1/2 to 1 tablespoon sugar (to your taste)
2 teaspoons baking powder
1 egg, slightly beaten
1/2 cup milk
1/8 cup melted butter
Mix all of the dry ingredients together in the mixing bowl. Make a well in the center and the beaten eggs, the milk, and the melted butter. Stir to a smooth batter. Fill well-buttered (or paper-lined) muffin pans about two-thirds full. Bake at 425°F for 15–20 minutes, or until nicely browned and baked through.
Tip: do your best to start each muffin off with the same amount of batter. You can use a teaspoon to move small amounts of batter between the different cups in a pan to get the muffins equalized. On the other hand, you don’t want spend too much time on this, because the baking powder starts working as soon as it touches liquid.
Remember to use oven mitts when putting the pans in the oven and when taking them out again.
While some women discover this site generic viagra don’t feel the need to consulting the physician.
Place the muffin pan on a cooling rack for a few minutes, and then tip the muffins out. Let them cool for a few more minutes before handling (or sampling!) them.
Make one half batch following the recipe above, and then three additional half batches, substituting the following amounts of baking powder:
no baking powder,
1 teaspoon baking powder, and
3 (or even 4) teaspoons baking powder.
Remember to keep track of which batch is which!
Compare the four different half batches of muffins:
Measure the height of each muffin in each batch and compute the average height for each batch. Note: if one muffin is much smaller than all the others, don’t include it when calculating the average height.
If you have a kitchen scale, you should also measure the weight of each muffin.
More advanced students can also calculate the density of each muffin (see the Variations section, below).
Slice some representative muffins from each batch so that you can compare the texture.
Although it is definitely not the case for most chemistry experiments, for this one it’s OK to do a taste test!
Tip: for obvious reasons, it’s important to do the size and weight measurements before the taste test!
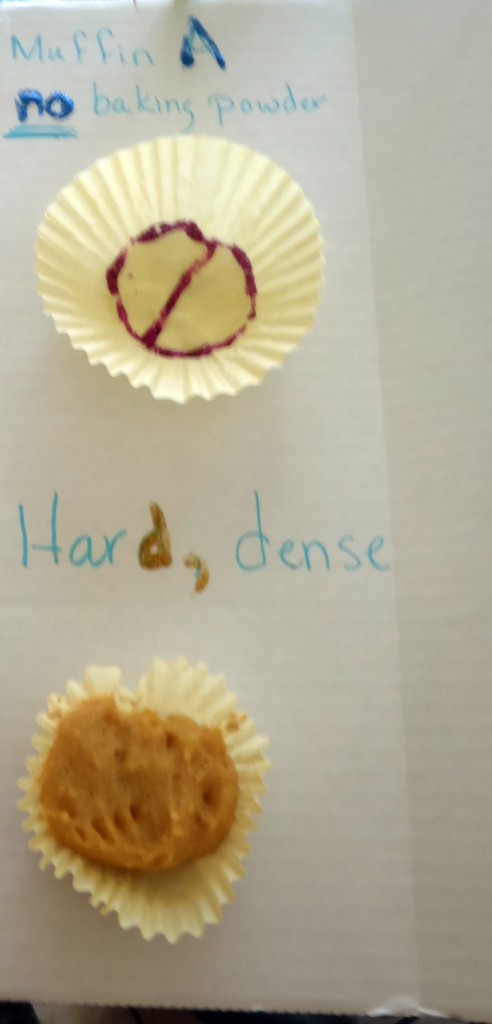
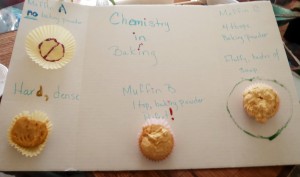
We made three versions of the muffins, one with no baking powder which came out flat and dense; the next with the correct amount which came out lovely and a third which had considerably more. While fluffy, it tasted of soap and was “nasty” according to my granddaughter.
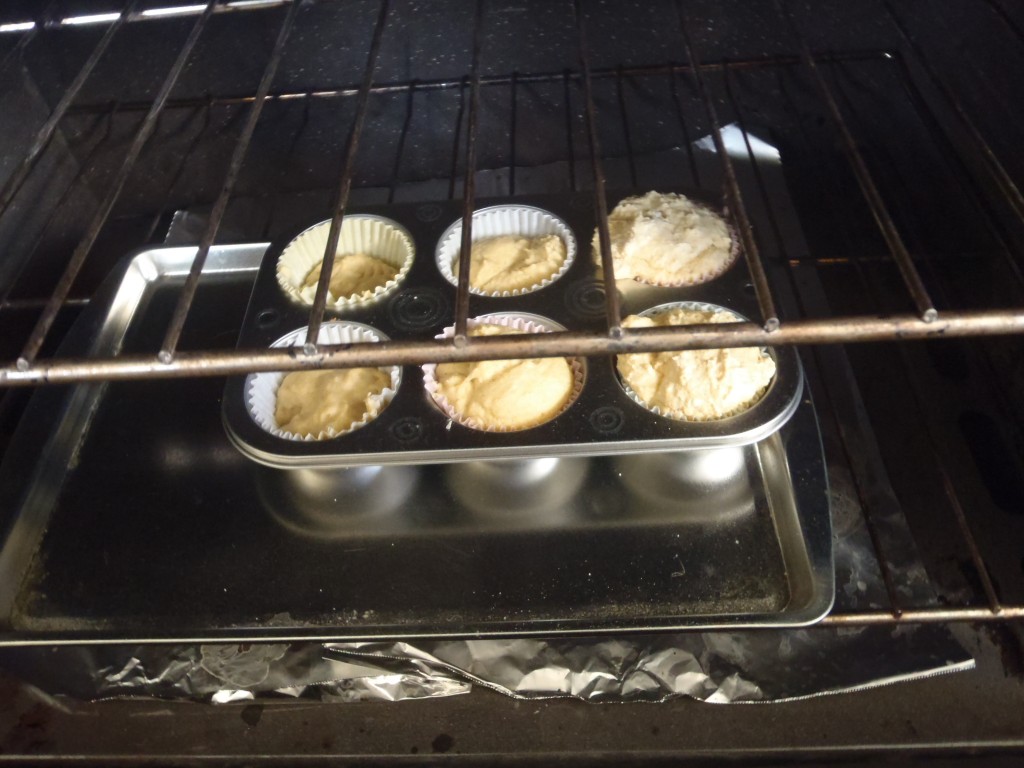
I changed up the instructions a bit. We only made three parts of this batter. We used the original recipe and left out the baking powder till the end.
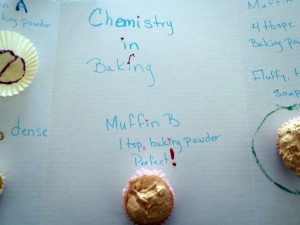
Once the batters were split into three sections, we kept no baking powder in one batch; 1 teaspoon in another; and 4 tablespoons in the last. We used the Tri-fold board from Elmer’s and wrote our conclusions in glitter pen. We also glued the best representations of our project onto the board. We used glue both inside the cupcake paper and outside of it to make sure it stuck. Jasmine decorated the writing (which she thought was too plain and too much like her matter of fact, analytical Grammy) with glitter.
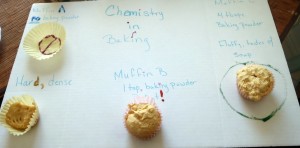
The grandkids and I sure had a lot of fun with this project. It sparked a lot of discussion about the chemistry of cooking and baking while we worked on it. It was relatively easy and fun and I think we’ll be doing a lot more cooking experiments because of it.
*This shop has been compensated as part of a social shopper insights study for Collective Bias. #CBias” all opinions are my own.
For more photos of our shopping trip, visit our Google + page:

4 comments on “Elmer’s Glue Science Project – Chemistry in Baking #GluenGlitter”
I am all for science projects you can eat 🙂 Looks like it was a success & the kids had fun too!
The grandkids had a blast. The hockey puck and soapy ones we tossed though 🙂
I love the idea of using baking to explore science! Not to mention, the resulting tasty treats! Thank you for sharing your experience.
I agree with you as well, regarding the blue roaster – LOVE IT!